How to paint trim is one of the most common questions homeowners ask during interior house painting in Ashland, MO. Trim frames every wall, door, and window, and when it looks crisp, the whole room feels fresh. Even if the walls are beautifully painted, dull or chipped trim can ruin the look. That’s why many homeowners call a professional house painter instead of wrestling with the project themselves.
Key Takeaways
Why Freshly Painted Trim Instantly Improves a Room
Think about the last time you noticed freshly painted trim. Clean, sharp edges around doors and baseboards immediately made the room feel polished. Trim is like the frame around a picture — it highlights everything else. Skipping the right prep or rushing the process can leave you with uneven edges, brush marks, or peeling paint down the line.
I remember painting the trim in my first home. I thought I could cut corners by skipping sanding. Big mistake. The paint peeled within months, and I had to redo the entire project. That lesson taught me why professionals emphasize preparation as much as the actual painting.
Choosing the Right Tools and Trim Paint
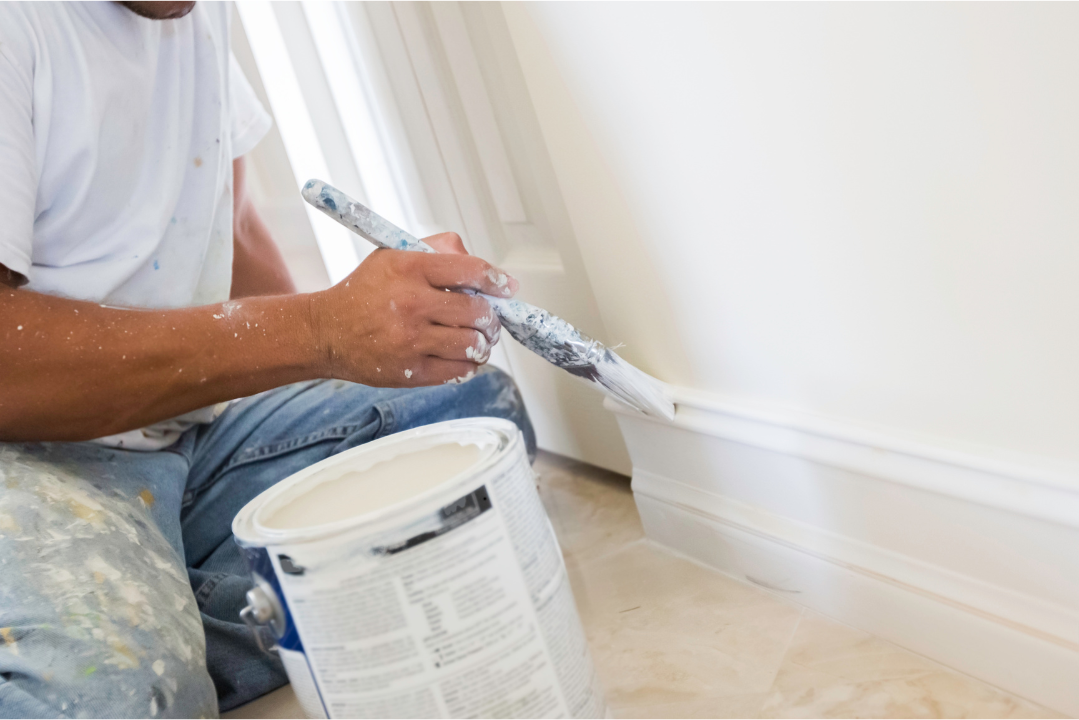
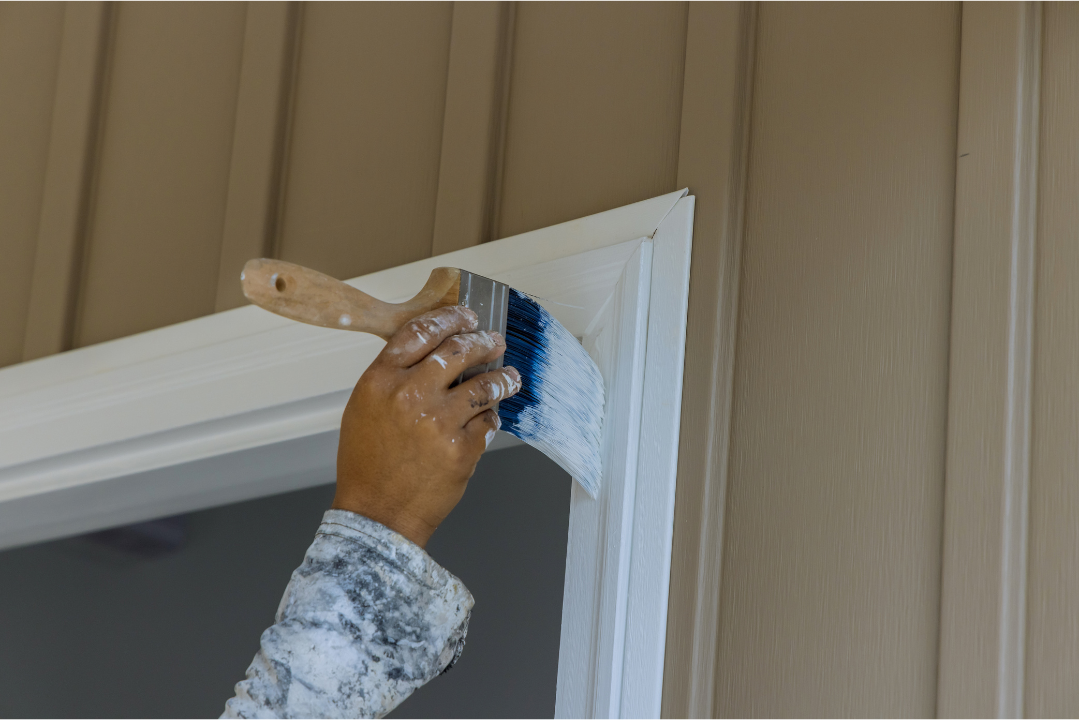
If you’ve wondered how do you paint trim without brush strokes or drips, it starts with the right supplies. A two-inch angled sash brush is a favorite among painters. It lets you cut in along edges with precision. Pair it with a high-quality latex paint designed for trim. Semi-gloss or satin finishes are popular because they’re durable and easy to clean.
When deciding on color, many homeowners prefer white trim. White provides a crisp outline that contrasts beautifully against almost any wall color. But darker shades can also create a bold, modern look. An interior house painter can walk you through samples and help you pick a finish that matches your home’s style.
What You’ll Need Before You Start
Before you paint the trim, gather everything so you won’t have to stop mid-project. Here’s a list that professionals recommend:
Having everything ready keeps the project moving smoothly. It also reduces mess, especially if kids or pets are around.
Step-by-Step: How to Paint Trim

Pro Tips for Better Results
Before you get started with these quick tips, remember that small adjustments often make the biggest difference. Professional painters often rely on these habits because they save time and lead to a smoother finish.
These tips may look simple, but they can completely change how your trim project turns out. Keeping them in mind will make the project cleaner, faster, and much more professional looking.
Final Thoughts on How to Paint Trim
If you’ve ever asked yourself, how to paint trim without making a mess, the answer comes down to prep, patience, and using the right products. Trim frames every room and deserves just as much attention as walls. When done correctly, it enhances the look of your home and adds value.
But here’s the reality: painting trim can be tedious, especially in high-traffic areas like kitchens and living rooms. Calling an interior house painter not only saves you hours of work but also guarantees sharp lines and a smooth finish.
Garrett Painting: Your Local Experts
For homeowners searching for reliable interior house painting in Ashland, MO, Garrett Painting is here to help. With years of experience, our crew knows how to prep, tape, and paint trim so it looks flawless. We’re more than just painters — we’re detail-focused professionals who respect your time and your home.
Here’s what you can expect when you choose Garrett Painting:
If you’re ready to upgrade your home’s look, Garrett Painting offers trusted service in Ashland, Columbia, and Jefferson City, MO. Call us today at 573-533-4462 for a FREE estimate and let us help you make your trim stand out.